

In order for WPML to start working properly, you’ll need to finish the initial configuration. The configuration process has 5 main steps, and you can begin the process either by clicking the Configure WPML button on top of your WordPress dashboard page, or by clicking on the WPML from the WordPress menu.

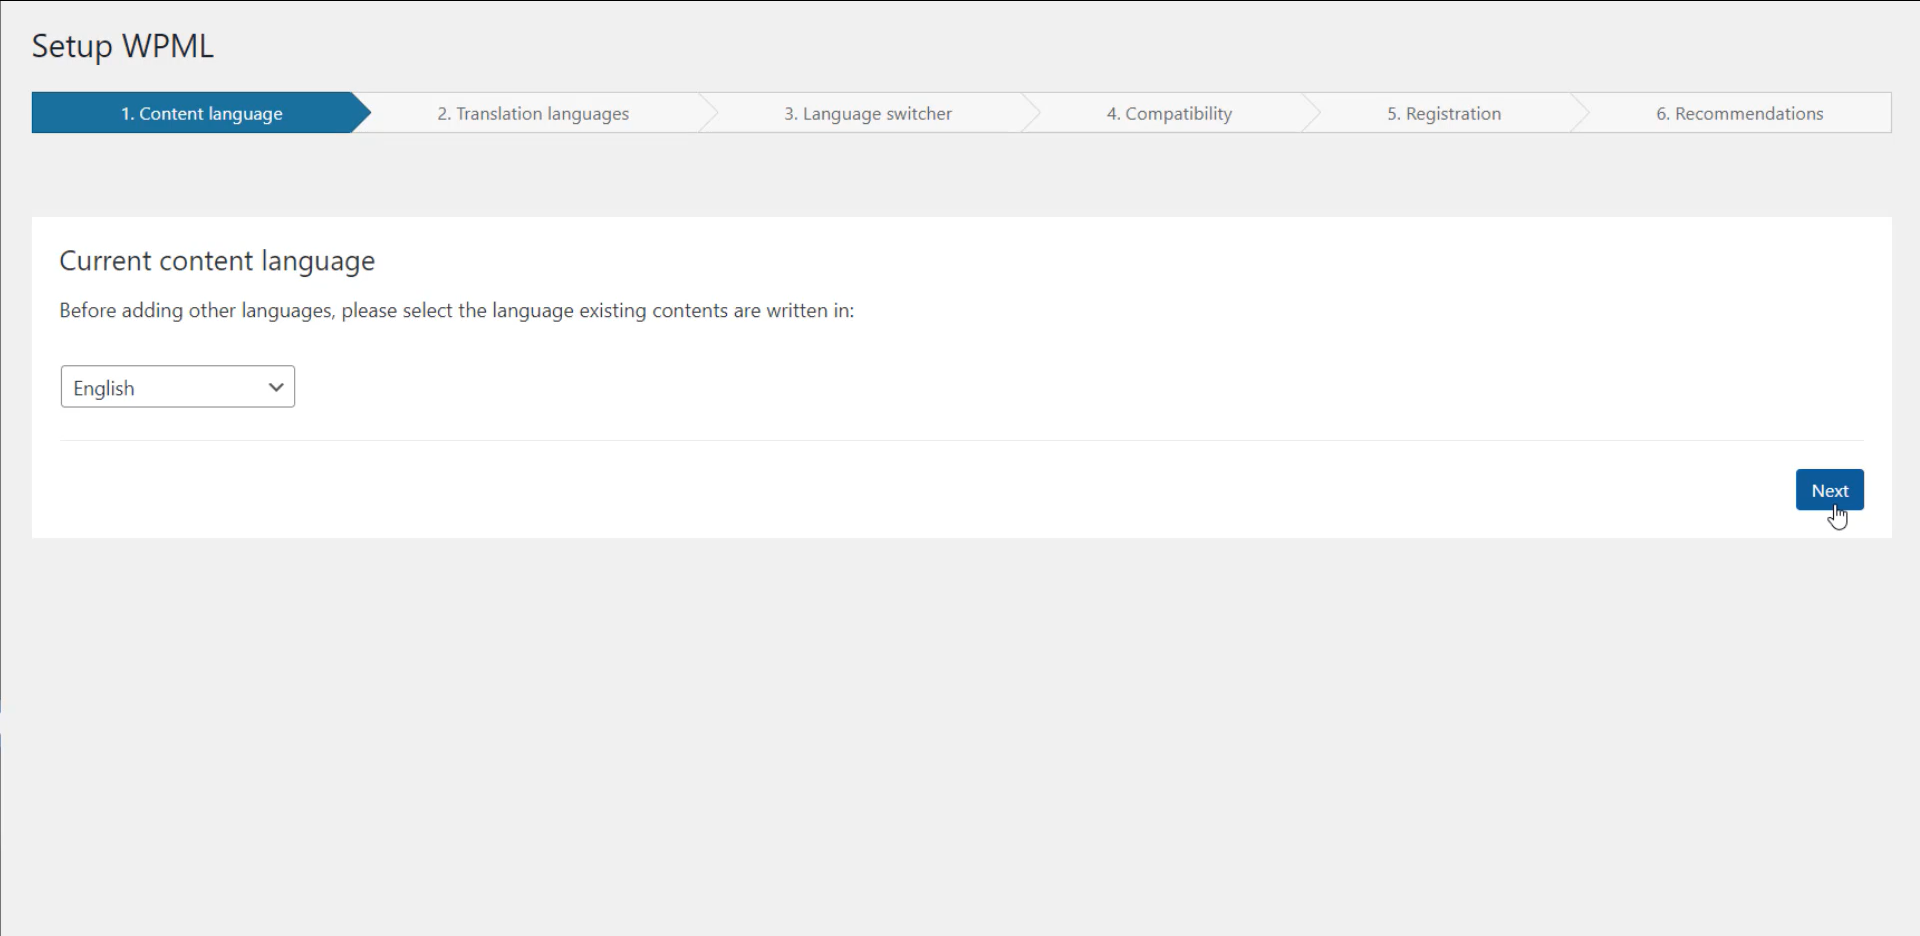
Current language #
The first step is to set the current, or default language that your website contents are written in. Set the language, and hit the next button.
Translation languages #
Now, choose any languages you wish to make your website available in. You will be able to translate contents from the default language, to any language you select on this step.

Language Switcher #
Language switcher, as the name suggests, is a tool that helps you access the available translations of each post and page on your website. In this step, you can choose the place where you want to have the switcher. There are multiple options, although, we recommend checking the Show language switcher in the footer option before going to the next step.

Compatibility #
You can allow WPML to collect data and use it to improve your user experience, help you get faster support from the WPML team and notify you in advance if there’s any compatibility issue with your installed plugins, or themes. You can leave it on, or off depending on your preference.

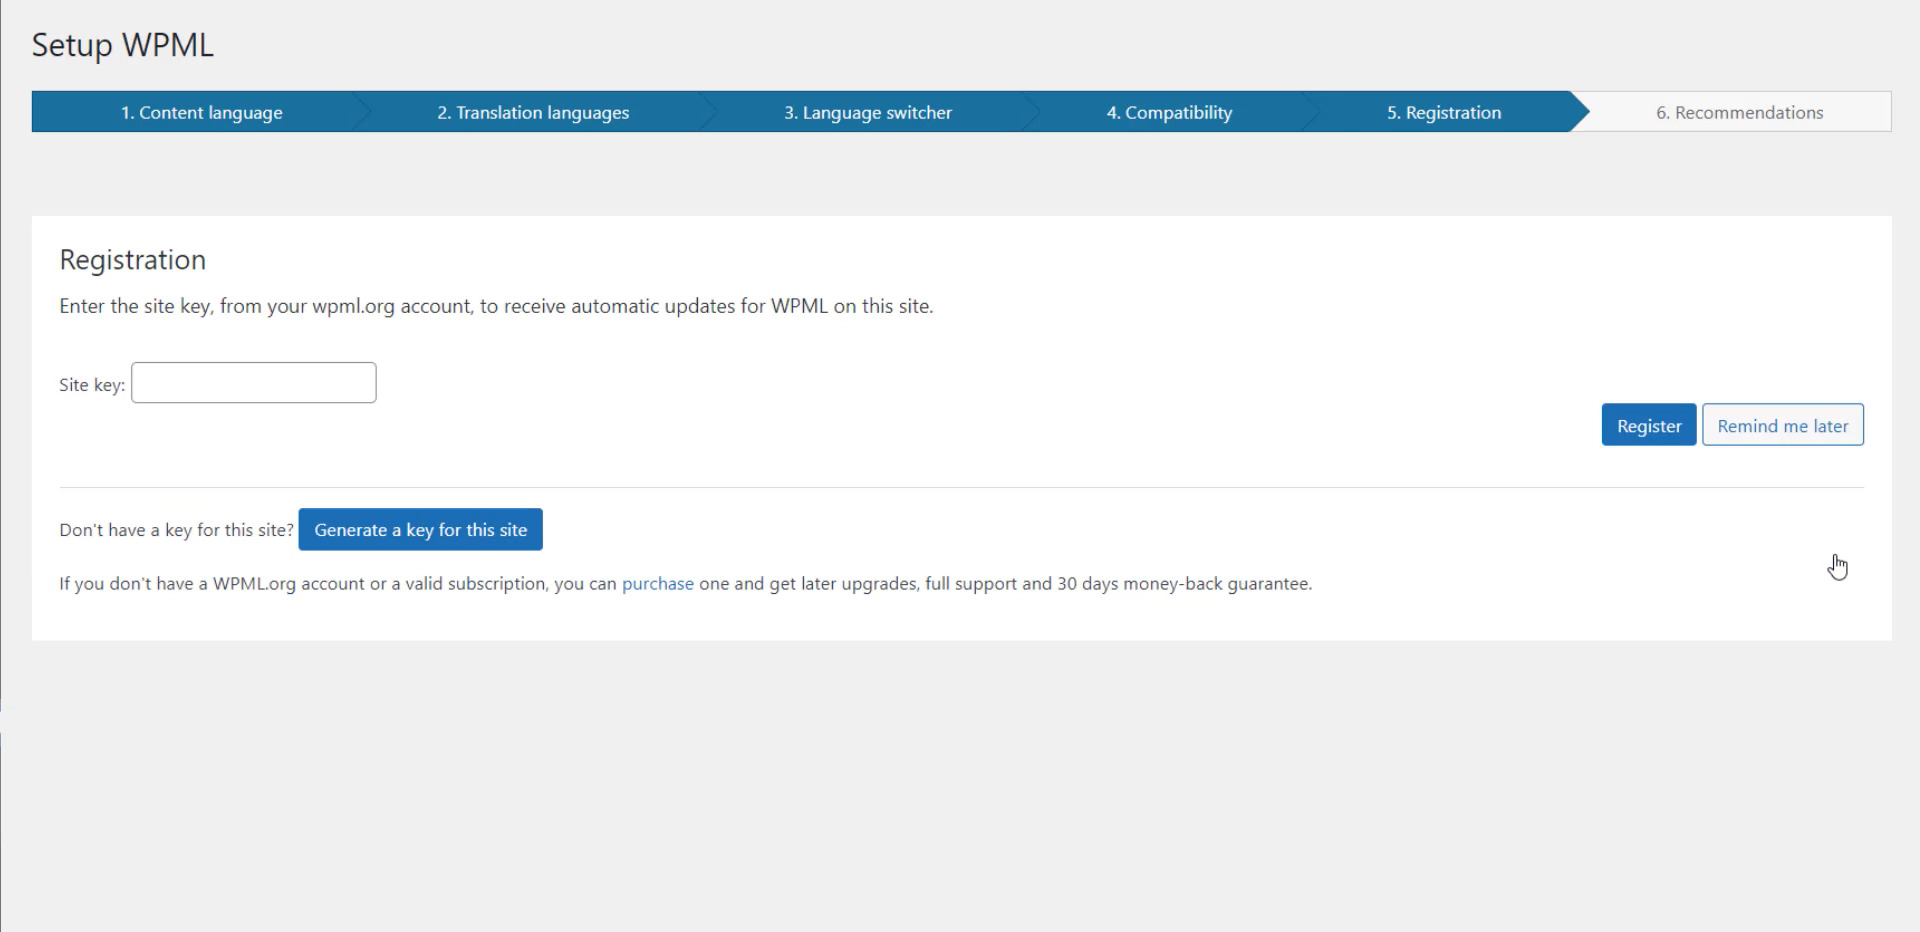
Registration #
Finally, in this step, you can complete the configuration by registering WPML plugin with the site key to receive automatic updates. Enter your site key and click on the register button.
That’s it! Your site is now ready to translate content.
You can also watch WPML Configuration tutorial video on our YouTube channel.


