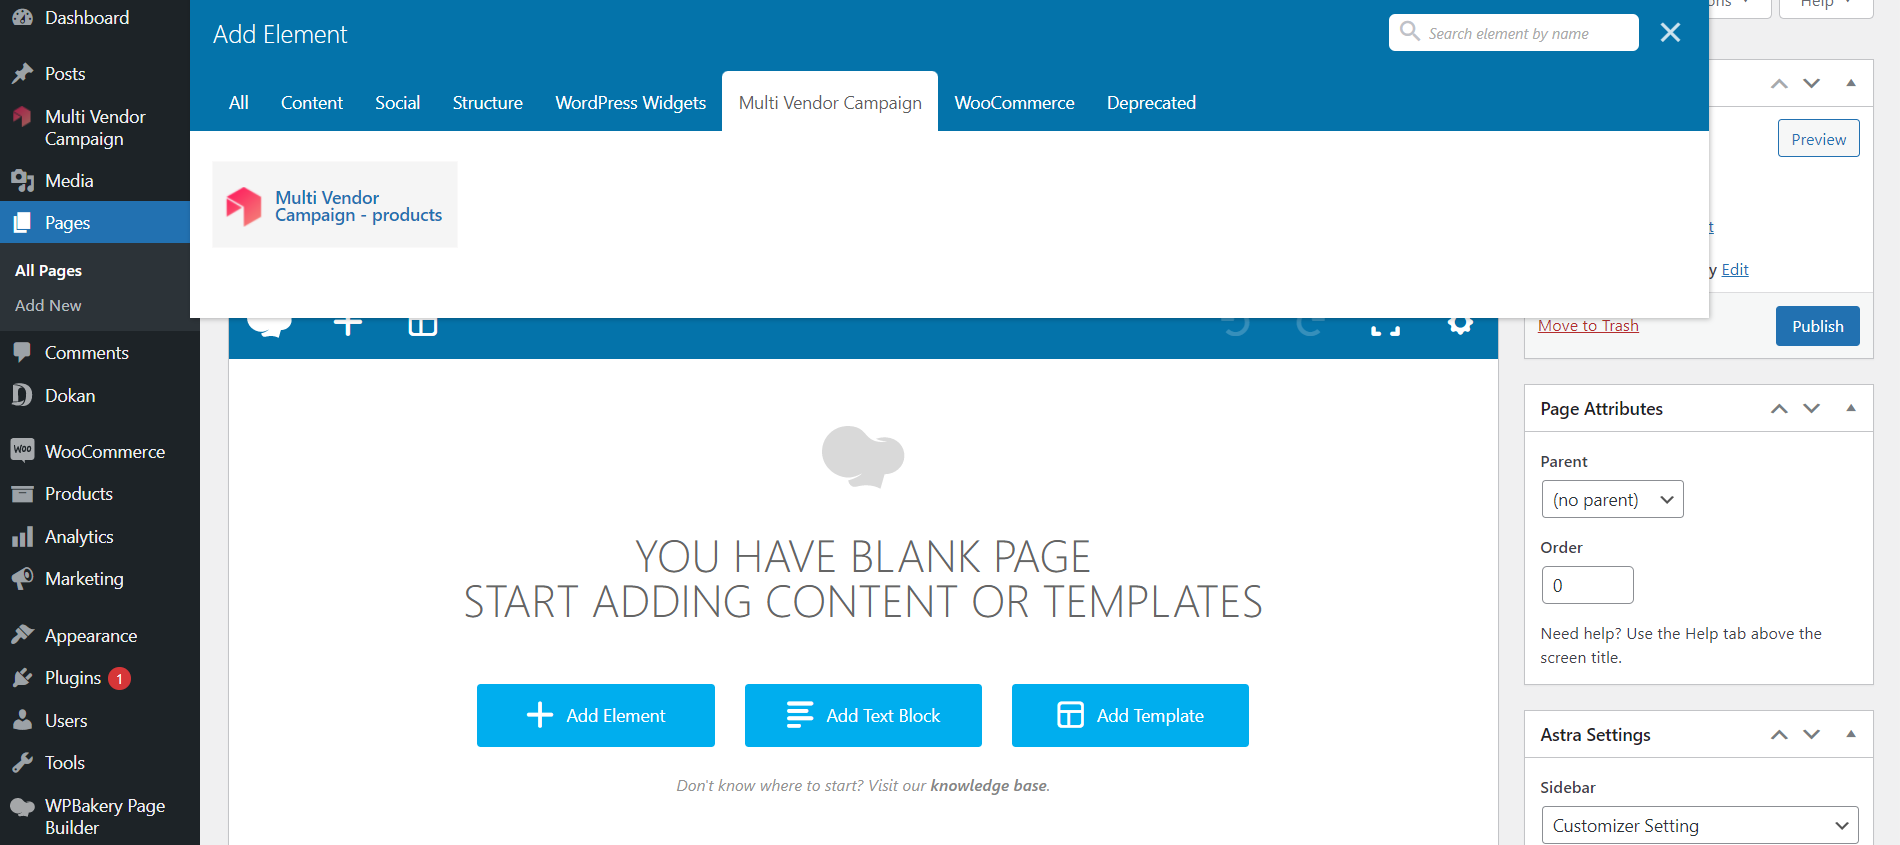
To create a campaign, find the Multi-Vendor Campaign in WP Dashboard, and click on the New Campaign button.
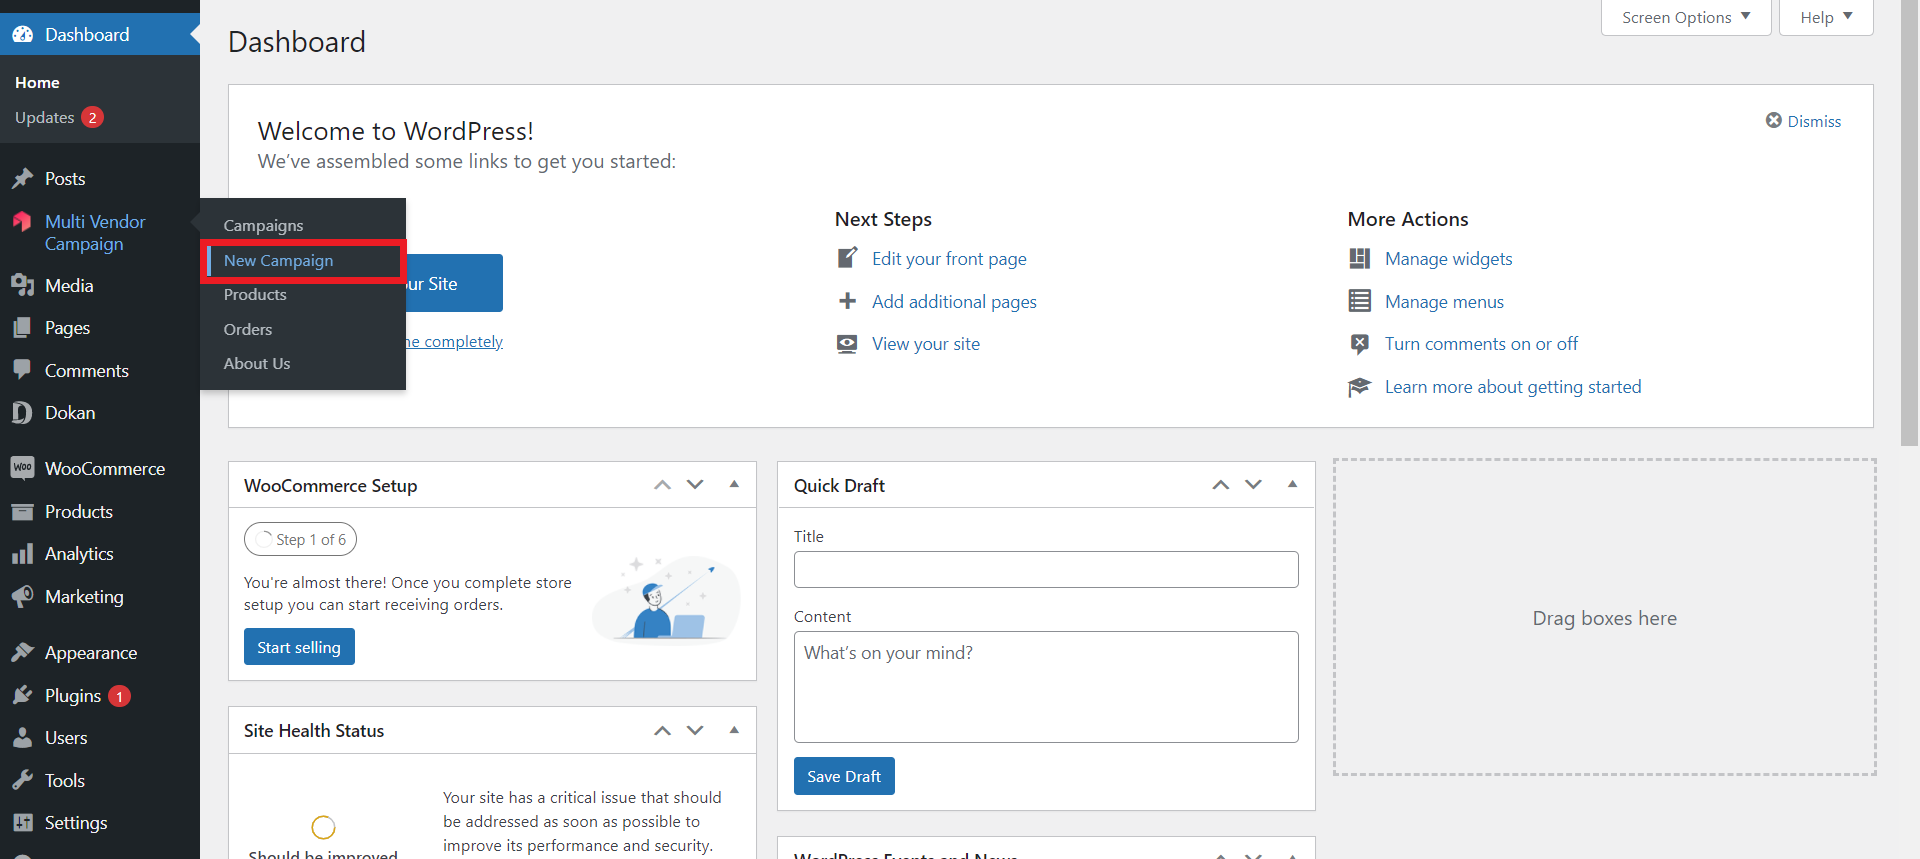
On this page, you can create a new campaign with a variety of options.
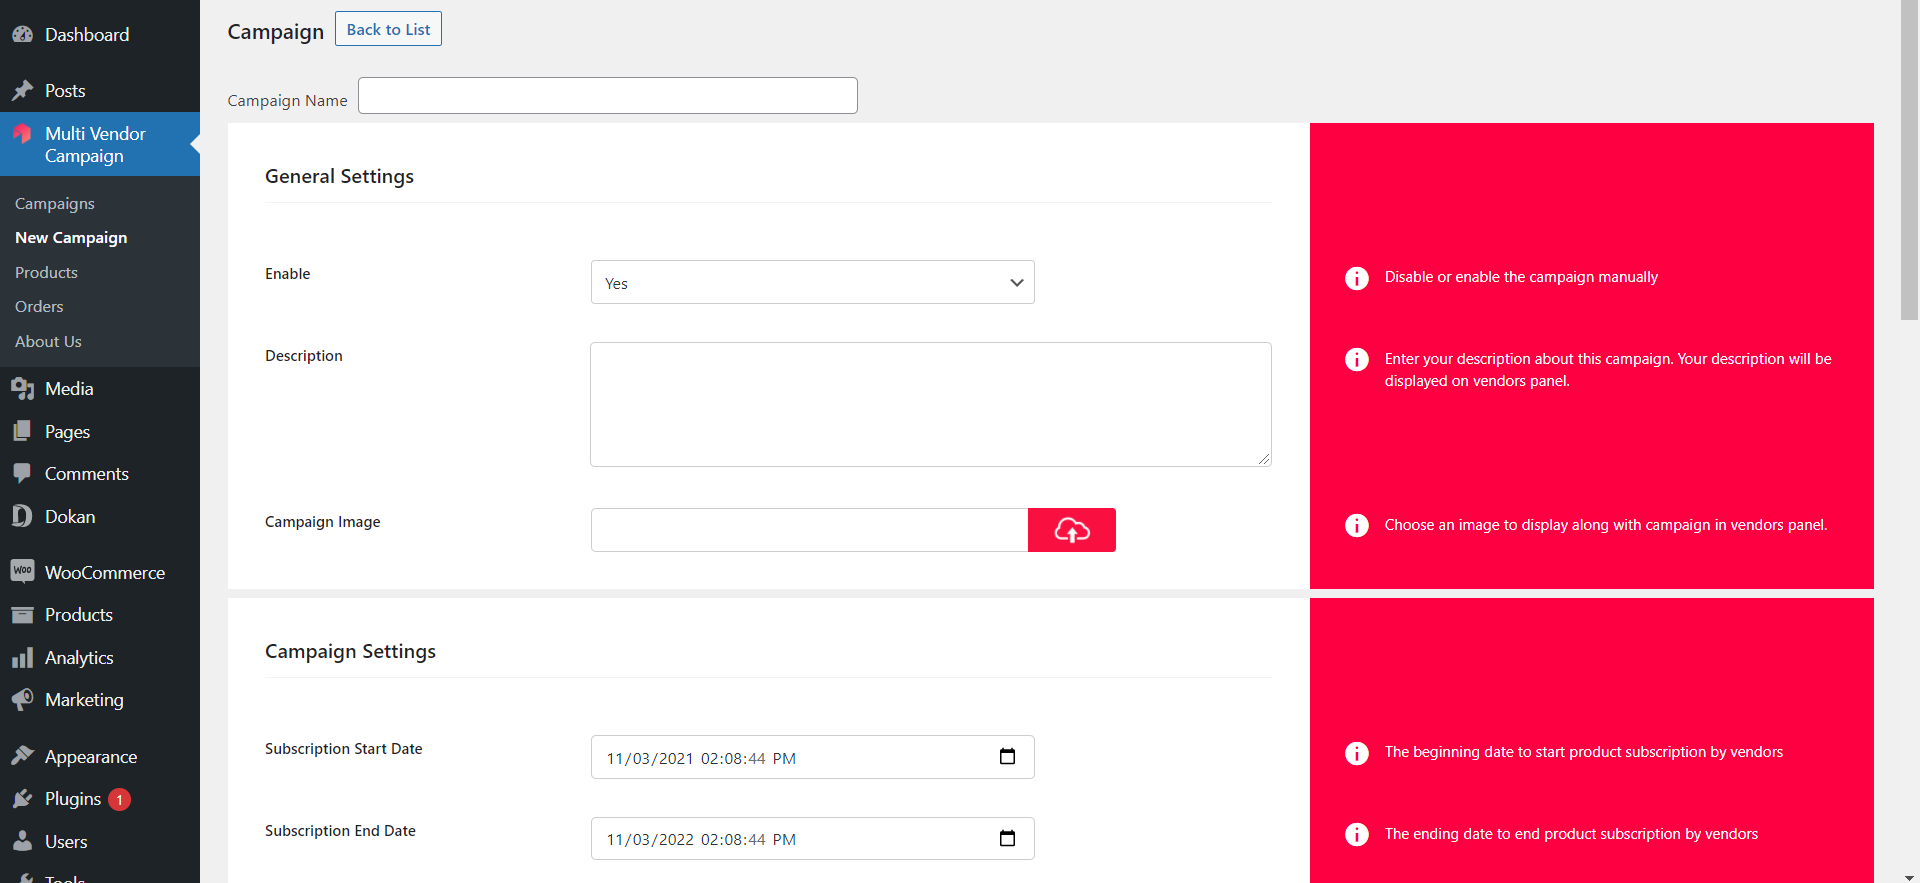
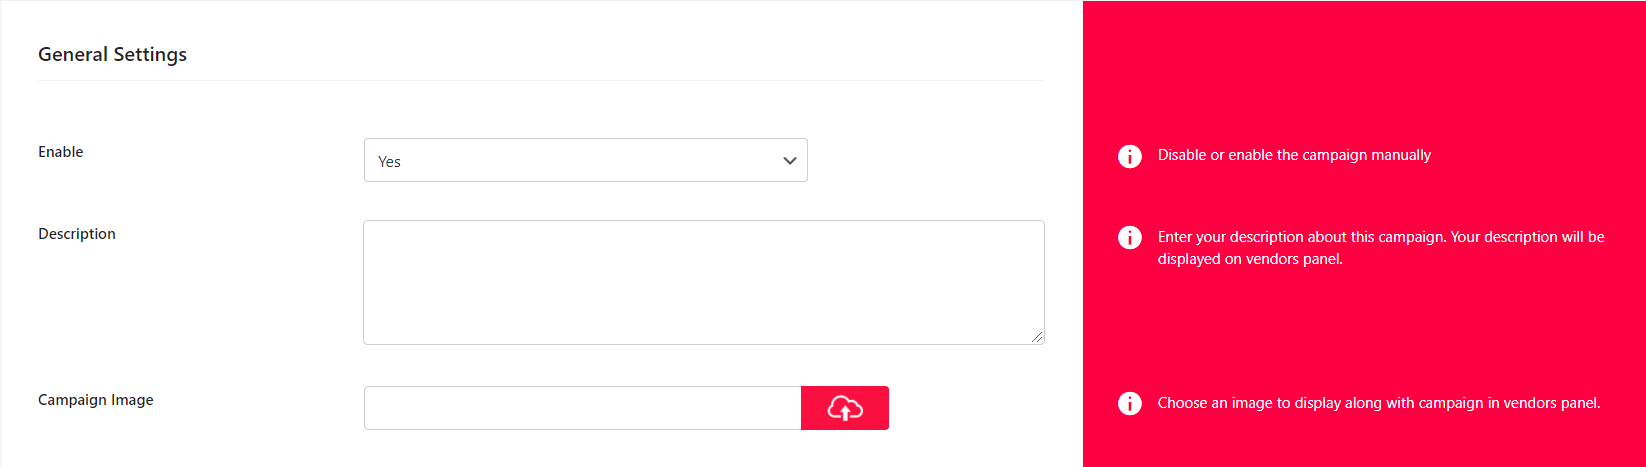
General Settings #
These settings include the name, description, and image of the campaigns for vendors. Moreover, you can enable/disable the campaign manually here.
Campaign Settings #
Campaign settings include subscription (start/end) date, activation (start/end) date.
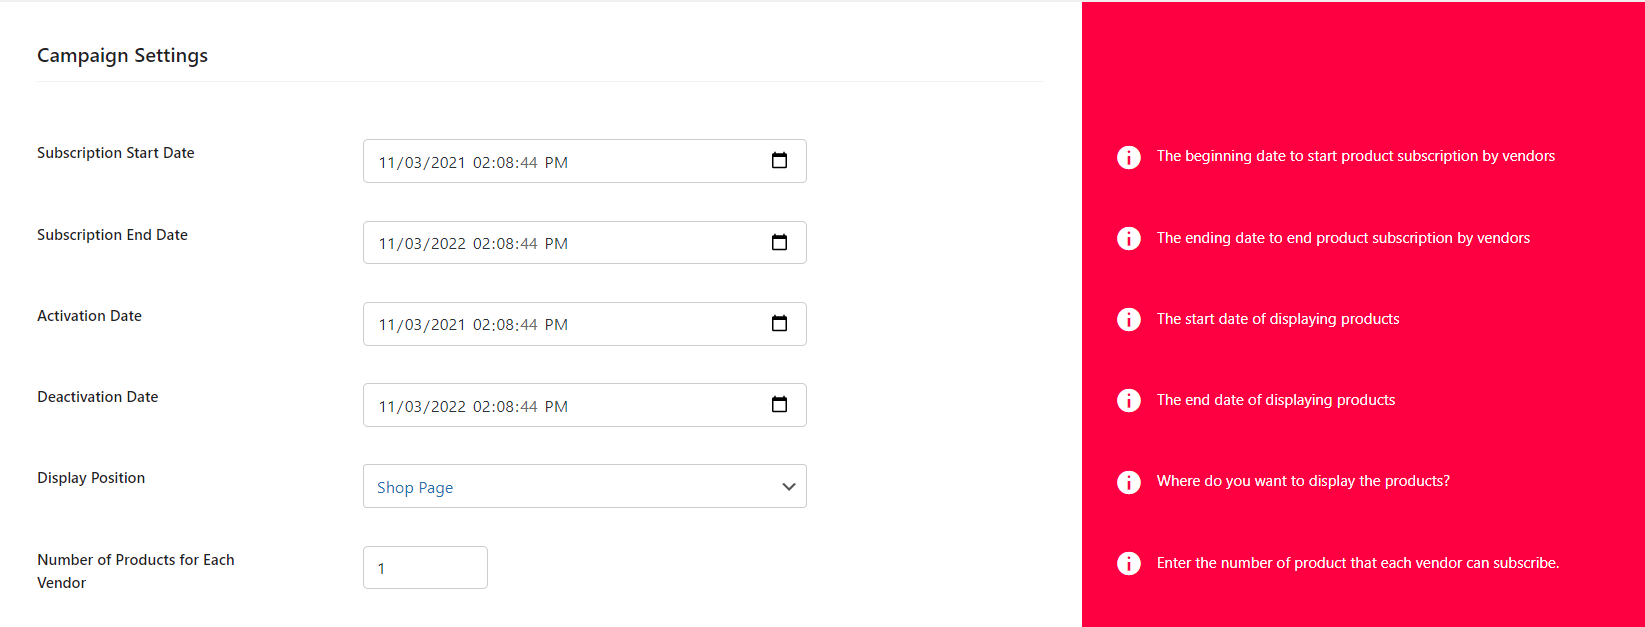
Additionally, you can choose where you want to display the subscribed products. Shop, Category, Search, and Custom pages are available as display options.
- Shop Page: Show product of this campaign at the first rows of main shop page.
- Category Page: Show product of this campaign at the first rows of their category page.
- Search Page: Show product of this campaign at the first rows of search result page. Notice that the products should be in result of the searched term to be displayed at the first row
- Custom Page: Show product of this campaign in every page you want with shortcode.
The shortcode for displaying products of a campaign has the following structure :
[rad_mvc_campaign_products campaign_id=’The campaign ID’ limit =’number of products’ columns = ‘The number of columns’ orderby=’*’ order=’desc or asc’]
The value of orderby option should be one of the following values :
- Title
- Date
- ID
- Menu order
- Popularity
- Random
- Rating
Our plugin is compatible with WPBakery Page Builder (Visual Composer) and you can use our shortcodes with ease.
Commission Settings #
The commission is calculated based on your installed multi-vendor plugin. What you enter here as the Extra Commission value will modify the global commission of your multi-vendor plugin. You can add, or subtract from the global commission, or simply leave it empty which counts as 0 and won’t have any effect on the commission rate that’s been set by the multi-vendor plugins.

Rule Setting #
You can restrict this campaign to a specific vendor/product by setting condition rules. The available rule options are:
- Vendor Total Sale
- Vendor Age (Year)
- Product Total Sale
- Vendor Age (Year)

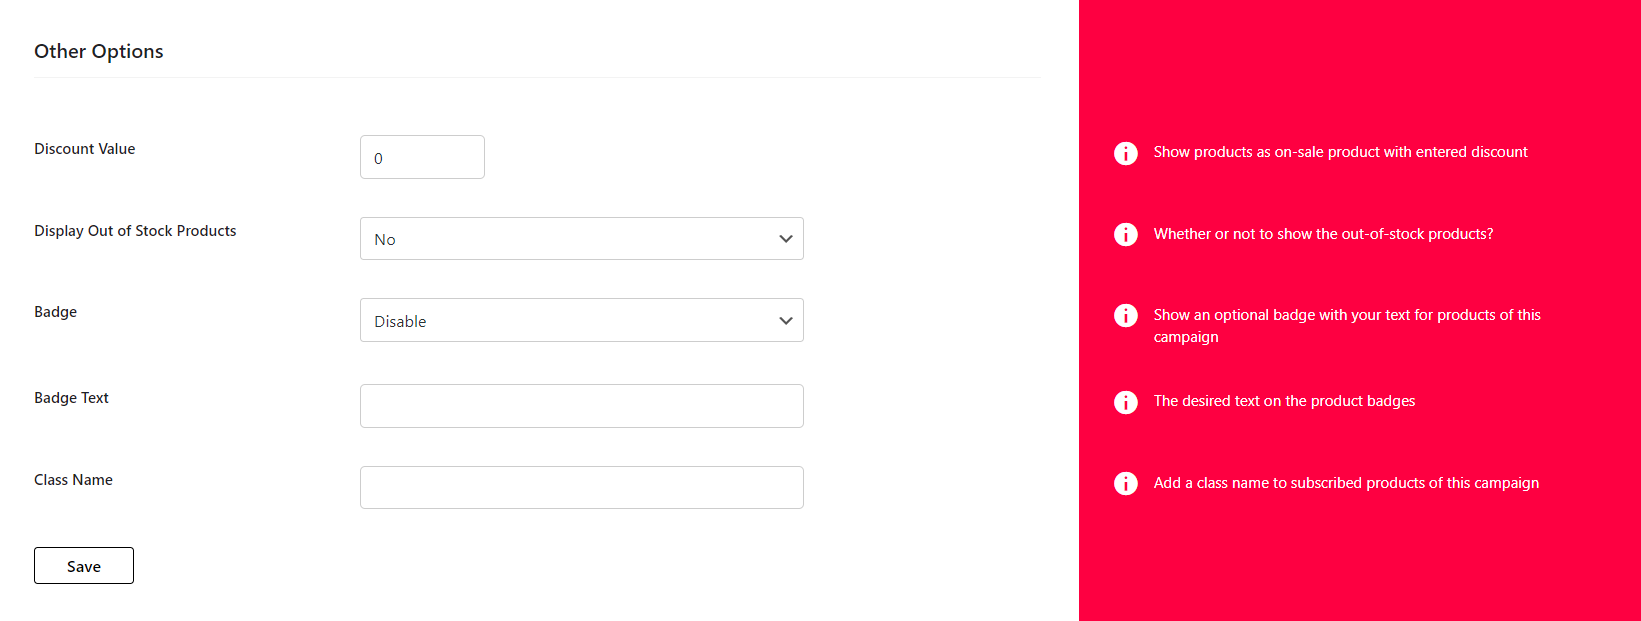
Other Options #
In this section, you can set an optional discount on subscribed products of the campaign. Moreover, you can add an optional badge to the products and even add a CSS class for custom styling.